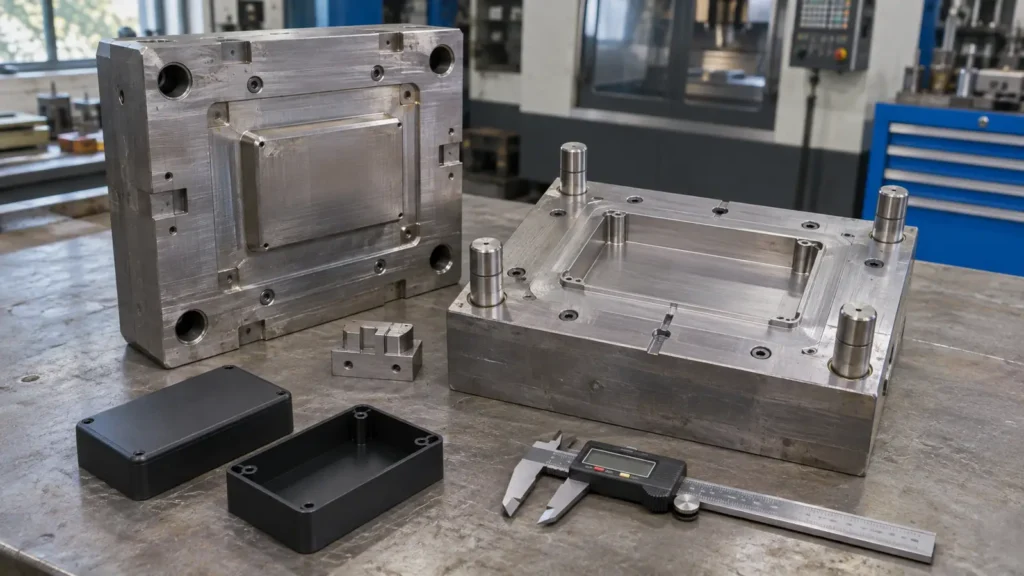
What drives injection mold cost, how production volume changes the investment, and where design decisions can help control tooling expenses.
An injection mold is one of the largest upfront investments in an injection molding project. Its cost depends on what the tool must produce, how many parts are required, and how long it needs to remain in service.
There is no single standard price. A simple single-cavity aluminum tool and a large multi-cavity steel mold require different levels of design, machining, assembly, and validation. An accurate estimate starts with the part design and production requirements.
Understanding the main cost drivers helps you specify a mold that meets the program’s needs while avoiding unnecessary complexity.
Two Costs to Evaluate: Tooling and Part Production
Injection molding has an upfront tooling cost to design and build the mold and a recurring cost to manufacture each part.
Those costs are connected. A mold with more cavities generally costs more to build, but producing multiple parts per cycle can reduce the manufacturing cost per part when production volume supports the investment.
The lowest mold price does not necessarily deliver the lowest total program cost. Tooling should be evaluated alongside expected annual volume, total program volume, production rate, and required tool life.
What Drives Injection Mold Cost?
Cavity Count
Each cavity forms a part during the molding cycle. Adding cavities increases the amount of machining and can require a larger mold base and more complex runner, cooling, and ejection systems.
Higher cavity counts can improve output, but the additional investment should be justified by realistic demand and the mold’s ability to produce consistent parts across all cavities.
Part Size
Larger parts generally require larger molds, more tooling material, and additional machining time. The mold must also fit a press with the required clamp force, shot capacity, and physical clearance.
Press requirements influence the recurring production cost as well as the overall tooling strategy.
Part Complexity
Undercuts, side holes, threads, and detailed features can increase machining and assembly work. Some geometries require slides, lifters, unscrewing mechanisms, or other components to release the part from the mold.
Simplifying a feature or changing the parting line may reduce tooling complexity when the part’s function allows it.
Tooling Material
Aluminum is generally faster to machine than hardened tool steel and can reduce the initial investment for appropriate applications. Steel typically offers greater wear resistance for longer production runs or demanding resins.
The choice should reflect expected tool life, part geometry, resin, and production requirements. Abrasive fillers, for example, can make wear resistance an important factor even when quantities are relatively modest.
Tolerances and Surface Finish
Tight tolerances and demanding cosmetic specifications can require additional machining, fitting, polishing, and inspection. High-polish surfaces or specified textures also add finishing work.
Identify which dimensions and surfaces are critical to function or appearance. Applying the same demanding specification to every feature can increase tooling cost without improving the finished part’s usefulness.
Runner System
The runner system delivers molten plastic to the cavities. A hot runner adds heated components and controls, increasing upfront tooling cost and maintenance requirements.
A suitable hot runner can reduce the material tied up in solidified runners and may improve production efficiency. Its value depends on the resin, shot size, production volume, and process requirements. A cold runner may be the more economical choice for other programs.
How Production Volume Changes the Economics
The initial tooling investment is spread across the parts the mold produces. As the number of acceptable parts increases, the tooling cost allocated to each part decreases.
That does not mean every production expense automatically falls with volume. Resin, machine time, labor, scrap, maintenance, and potential tooling repairs still affect the total cost.
A higher-priced mold can be the more economical option when its durability, cavity count, or cycle efficiency provides sufficient savings over the program’s life. For a smaller program, a simpler tool may provide a better balance of initial investment and recurring cost.
Compare tooling options across the expected production volume rather than judging the mold price in isolation.
How to Reduce Injection Mold Cost
The best opportunities often occur before tooling is built, while the part design and mold concept can still be adjusted.
- Simplify the geometry: Review undercuts, side actions, and other features that add mechanisms or machining work.
- Match cavity count to demand: Use realistic production forecasts and required output to justify additional cavities.
- Select tooling material for the application: Balance initial cost with resin wear, expected quantities, and required service life.
- Apply design for manufacturability early: Review the part and tooling approach before committing to the build.
- Specify tolerances and finishes deliberately: Reserve demanding requirements for dimensions and surfaces that need them.
Early design changes can still require engineering time, but they are generally less costly than modifying a completed mold. A design review can identify cost drivers before they become tooling changes or production problems.
Texas Injection Molding evaluates DFM and tooling strategy upfront to align the mold with the program’s production requirements. For a broader look at both tooling investment and recurring part costs, read our injection molding cost guide.
Frequently Asked Questions
Why do injection molds vary so much in cost?
Mold cost depends on cavity count, part size, geometry, tooling material, tolerances, surface finish, and runner system. These requirements determine how much design, machining, assembly, and validation the tool needs.
Is a cheaper mold always better?
No. A lower initial tooling price may come with higher recurring production costs or a shorter useful life. Compare the tooling investment and expected manufacturing costs across the total program volume.
How can I lower my tooling cost?
Simplify unnecessary features, match cavity count and tooling material to the program, and complete a DFM review early. Relax tolerances or cosmetic requirements only where the application permits.
Does cavity count affect mold cost?
Yes. More cavities generally increase the tooling investment because they add machining and system complexity. Producing more parts per cycle can reduce the manufacturing cost per part when demand and process performance justify the additional cavities.
Related Guides
- How Much Does Injection Molding Cost? Estimating Costs for Tooling & Parts
- Aluminum vs. Steel Injection Molds: Cost, Tool Life & Lead Time
- Single-Cavity vs. Multi-Cavity vs. Family Molds: Costs, Production Efficiency & How to Choose
- DFM for Injection Molding: 12 Design Rules
- Designing for Injection Molding: The Engineer’s Guide