12 design rules that reduce tooling cost, improve part quality, and shorten development cycles — from the engineers at Texas Injection Molding.
Design for Manufacturability (DFM) in injection molding is the practice of designing parts with the constraints and capabilities of the injection molding process in mind from the beginning. Parts designed without DFM principles generate expensive tooling changes, manufacturing defects, and quality problems that no amount of process optimization can fix.
These 12 rules represent the most impactful DFM principles for injection molded plastic parts. Ensure these rules are applied before the mold is cut and the manufacturing process launched.
12 DFM Design Rules for Injection Molding
Rule 1 — Maintain Uniform Wall Thickness
Uneven walls cool at different rates, causing warpage, sink marks, and internal stress. Target a consistent nominal wall throughout the part. Where thickness transitions are unavoidable, taper gradually over a length of 3× the thickness difference.
Rule 2 — Add Draft to All Vertical Surfaces
Every wall parallel to the mold opening direction needs a minimum of 1° of draft per side. Without draft, the part grips the mold during ejection, causing drag marks, deformation, or tool damage. Textured surfaces require 3–5° depending on texture depth.
Rule 3 — Size Ribs Correctly
Rib thickness should be 50–65% of the nominal wall. Thicker ribs generate sink marks on the opposite surface. Rib height should not exceed 3× the nominal wall without gussets. Add a fillet radius of 0.25–0.5× the wall thickness at the rib base to prevent stress cracking.
Rule 4 — Control Boss Geometry
Boss outer wall should be no greater than 60% of nominal wall. Attach bosses to adjacent walls and support them with gussets where the boss will carry fastener loads. Isolated, unsupported bosses are among the most common sources of warpage and sink in injection molded parts.
Rule 5 — Eliminate Unnecessary Undercuts
Undercuts require side actions or lifters that significantly increase tooling costs and complexity. Review every undercut and ask whether it can be redesigned as a shutoff, placed at the parting line, or eliminated. Only commit to side actions when the feature is genuinely required and cannot be achieved otherwise in complex designs.
Rule 6 — Design Parting Lines Deliberately
The parting line defines where the two mold halves meet — and where witness marks will appear on the part. Design the parting line to fall in non-cosmetic, non-critical-tolerance locations. Keep the parting line as flat as possible — stepped or contoured parting lines add tooling cost and maintenance.
Rule 7 — Place Gates in Non-Critical Locations
Gate location determines how molten material enters the mold cavity and dictates the fill pattern, weld line position, and residual stress distribution. Gate into thick sections and away from structurally or cosmetically critical surfaces. Every gate leaves a vestige — design the part so the vestige falls where it will not affect function or appearance.
Rule 8 — Minimize Core Depth
Deep cores require long, slender mold inserts that deflect under injection pressure, causing flash and dimensional variation. Where deep recesses are required, design the part to allow a shorter core or add features that support the core during injection.
Rule 9 — Use Standard Radii
Sharp inside corners concentrate stress and are difficult to machine cleanly in the mold. Add inside corner radii of at least 0.5× the wall thickness wherever possible. Outside corners must have a radius of at least 1.5× the wall thickness to maintain a uniform wall section.
Rule 10 — Specify Tolerances Appropriately
Over-tolerancing parts drives up tooling costs and qualification time without improving part function. Standard injection molding achieves ±0.005 inches (±0.127 mm) on most features without special effort. Tighter tolerances require engineering attention at the tooling, process, and material selection levels. Specify tight tolerances only where assembly and function actually require them.
Rule 11 — Consider Assembly From the Start
Parts that require difficult assembly operations drive up total manufacturing and assembly cost. Design snap fits, alignment features, and self-locating geometries into the injection molded part to simplify assembly. Consider consolidating multiple parts into a single molded component where feasible — part consolidation is one of the highest-leverage DFM strategies.
Rule 12 — Engage Your Molder Before the Mold Is Cut
The most expensive DFM errors are discovered after tooling is committed. Texas Injection Molding provides DFM review on all programs before tooling begins — identifying draft issues, wall thickness problems, undercut opportunities, and gate location recommendations before they become metal-cutting decisions.
Make DFM Decisions Before Tooling
Changes to a digital part design can often be completed in hours. Changes made after the mold has been cut can require thousands of dollars in rework and add weeks to the production schedule.
Frequently Asked Questions
When should DFM review happen?
DFM review should happen as early as possible — ideally before the design is considered final, and always before tooling is quoted or ordered. Changes to a CAD model cost hours; changes to a mold cost thousands of dollars and weeks of lead time.
What does a DFM review from Texas Injection Molding include?
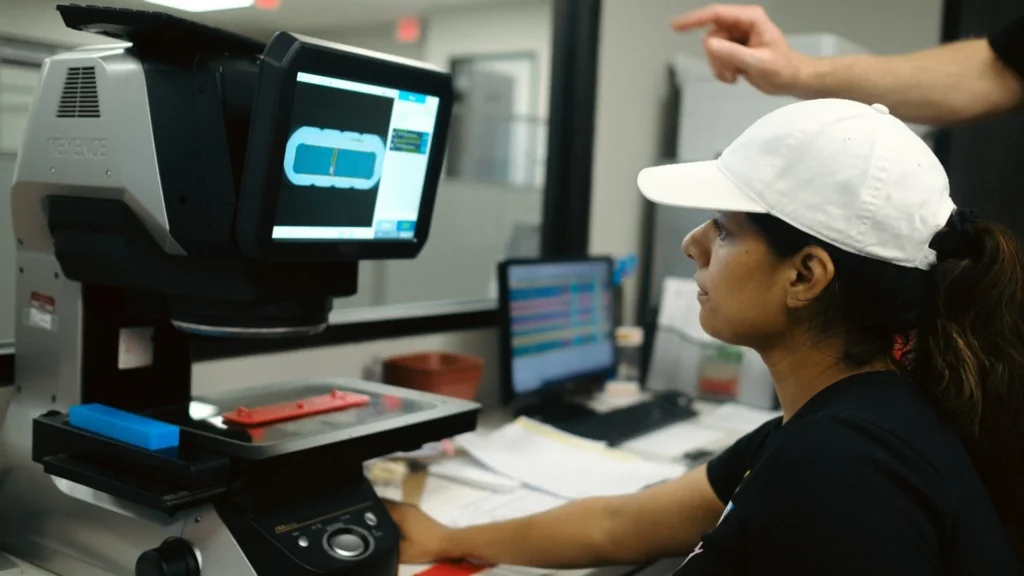
Our DFM review checks draft angles on all surfaces, wall thickness uniformity and transitions, rib and boss geometry, undercut identification, parting line feasibility, gate location options, and material suitability for the application. We provide a written report with marked-up drawings identifying issues and recommended changes.